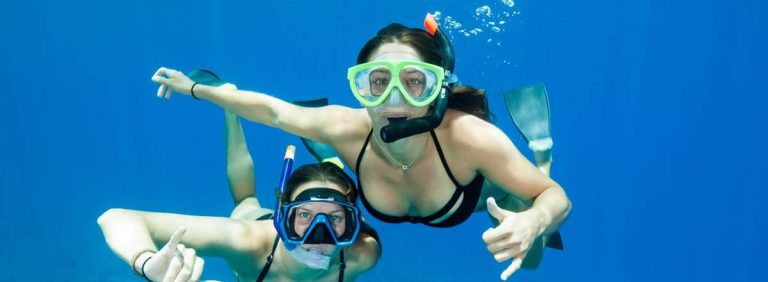
Best Snorkeling Photo tips
Improve your snorkeling photography, with better color, more attractive compositions, and other Photoshop tricks.
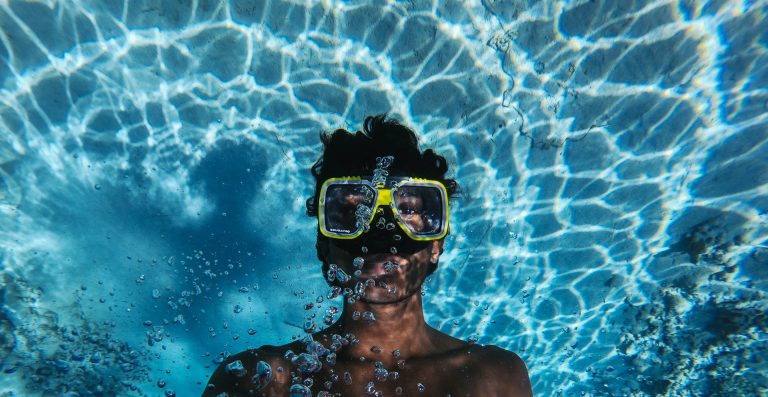
Snorkeling Photo tips
You rarely get to go snorkeling, so why not learn how to snap pictures while snorkeling and capture these incredible moments forever? You may be shocked to discover that the Best underwater camera for snorkeling is all you need for great underwater photos.
To begin with, friends, family, and acquaintances frequently inquire about my underwater camera and editing software when they see my photographs.
My underwater images aren’t winning the Pulitzer anytime soon, but they’re good enough that my friends ask me for advice on achieving the same. I’m also happy with them enough to print them in 11 x 16 sizes and hang them on the wall for everyone to see.
Here are some quick Snorkeling photography tips and guidelines for using any underwater camera to get excellent outcomes without spending a lot of money or wasting time color editing a photo.
How to take underwater photos?
Snorkeling photography is simple! You may believe this when looking through perfect ocean photographs on social media, but your underwater photographs turn blue and blurry. There’s no need to be a professional photographer or possess the most up-to-date equipment to get stunning images of the sea. Allow us to show you how!
Step-by-step snorkeling photography guide
This beginner underwater snorkeling photography tutorial includes our excellent advice and techniques to help you take your pictures to the next level! To begin, look at the summary of the suggestions list below and then go through the in-depth explanation.
10 Snorkeling Photography Tips
- Choose a good camera
- Study your camera’s settings
- Shoot in clear water
- Use the ambient light well
- Find the best angle by diving down
- Swim close to your subject
- Hold the camera steady
- Learn how to edit your images
- Read about sea creatures
- Practice and educate yourself
Choose a good camera.
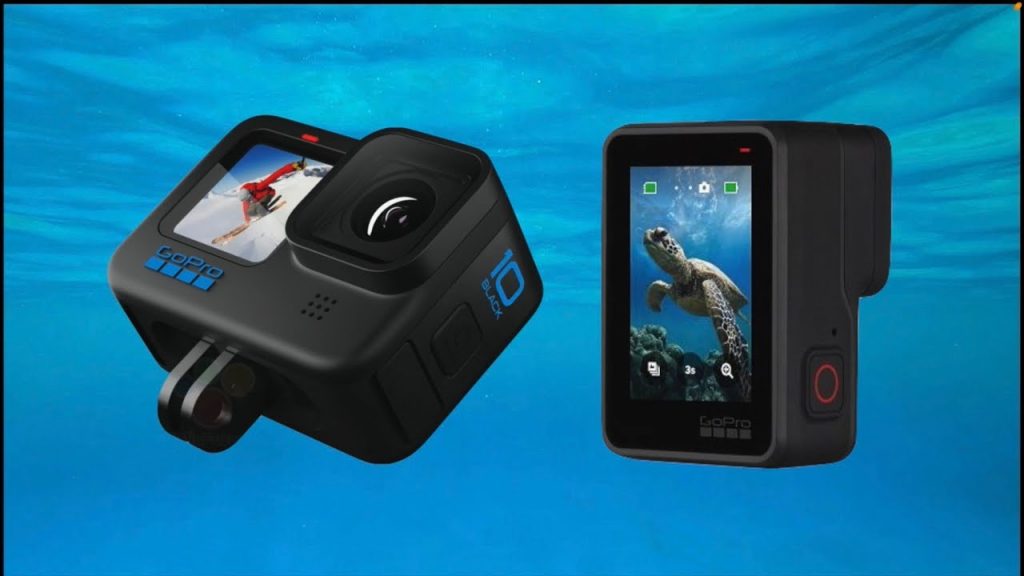
The good news is that you don’t need an expensive camera to take great snorkeling photos! In this era, many smartphones have excellent cameras that are more than good enough for beginner photography. You can get some stunning shots with some practice with your phone.
If you’re serious about taking up snorkeling photography, however, you will want to invest in a dedicated underwater camera. These cameras are designed to be used in the water and have many features that make them perfect for taking pictures while snorkeling.
What are the different snorkeling cameras?
The seabed is a fascinating and never-ending subject for photography. The cameras designed for underwater photography have advanced over the last several years, and everyone may now capture fantastic mementos from their submarine excursions.
Waterproof compacts, which are tiny in size and exceptionally durable, have excellent optic quality (10 to 15m), while waterproof housing cases, which are fitted to compacts or DSLR cameras and produce excellent results but are bulky (about 40m), and action cameras (or “action cams”), with which you can make wide-angle.
The snorkeler freedivers with a moderate technique do not need to worry about the immersion capacity. Watertightness down to 10 meters (typical on entry-level watertight compacts) is more than enough. A 3-meter waterproofing level is adequate for snorkelers who stay at the surface.
Waterproof compact cameras
Waterproof compact cameras, which have improved considerably in the last few years, are shock-resistant (they can withstand a fall of 1.5 to 2 meters), crushproof (up to 100kg), and resistant to cold (on average). Entry-level cameras are now waterproof up to 10 meters, whereas more advanced ones can be used down to -25 meters.
Their zoom is generally limited (4x or 5x), but it’s enough for underwater images. Many models also have a built-in GPS, allowing you to geotag your photographs (which is frequently handy in snorkeling). On the other hand, this feature uses a lot of battery power.
Waterproof housing cases
Watertight housing cases are ideal for scuba divers who already own a compact camera or want to use a reflex camera underwater. The vast majority of cases are constructed of transparent plastic (polycarbonate). To remove the camera, several characteristics (waterproof push-buttons, tiny levers) are included to access the shutter release mechanism or settings.
Watertight suits can be unwieldy when snorkeling. However, they may be bulky, difficult to handle and necessitate regular maintenance (using waterproof oil on the seals). Cases are not only pricey but also comparable in price to a waterproof compact camera.
However, unlike a waterproof compact camera, these cameras produce high-resolution images of considerably more excellent quality.
Action cams
In recent years, the demand for tiny waterproof action cameras has exploded. They are tiny, light, and highly durable and make capturing sports actions on land or beneath the water a breeze. They will aid you in making innovative and high-quality films with an ultra-wide angle (170° on average), a high resolution, and a rapid frame rate (up to 60 pictures per second in 4K, resulting in excellent slow-motion films). You can use them to film your snorkeling excursions or yourself underwater with accessories like a head strap ( freeing your hands) or an extension pole. They’re not ideal for taking photographs, though.
Here are a few things to keep in mind when choosing an underwater camera:
- Look for a camera that is waterproof up to at least 10 meters.
- Choose a small and light camera to carry with you while snorkeling.
- Consider an action cam if you want to capture high-quality video footage of your snorkeling adventure.
Underwater Camera Maintenance Tips
- Clean the lens of your underwater camera regularly with a soft, dry cloth.
- Do not store your camera in humid or extremely cold environments.
- Make sure to regularly check the seals on your waterproof housing case to ensure it is watertight.
- Always test your camera in a controlled environment before using it in the water.
Study your camera’s settings
Underwater conditions are very different from land, so it is essential to know how to use your camera correctly before diving in. Here are a few tips:
- Use a lower ISO setting. A higher ISO setting will make your pictures grainy.
- Use a wider aperture. This will help you to capture more light and produce sharper pictures.
- Use a slower shutter speed. This will help to reduce the number of blurry pictures.
- Use a flash. This will help to illuminate your subject and produce better pictures.
- Take lots of pictures. This will help ensure you get at least a few good ones.
- Review your pictures after each snorkeling session. This will help you see what works and doesn’t and make necessary adjustments.
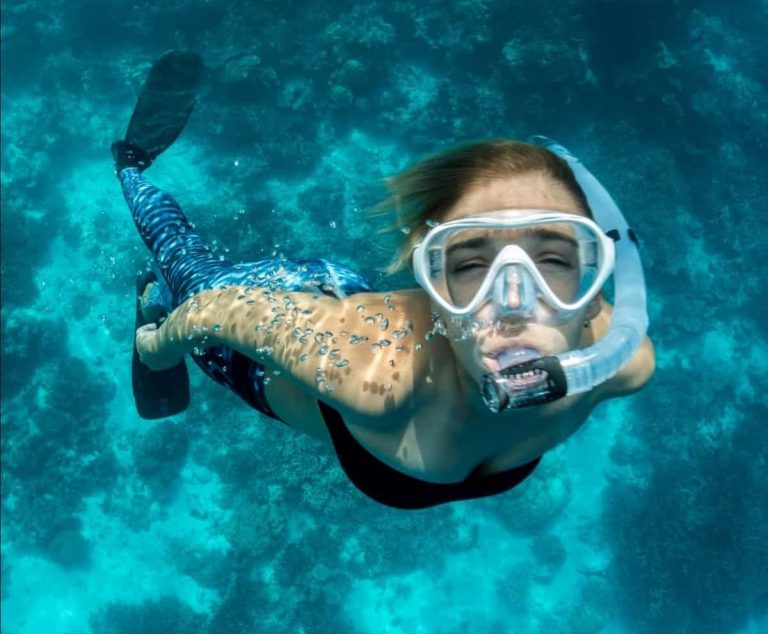
Shoot in clear water
Visibility in natural waterways is constantly changing, and it’s an essential factor affecting snorkeling photography. When fewer particles are present in the water, visibility is better.
If too many particles are in the water, it becomes hazy, and the pictures become blurry with numerous white spots. Because all little particles reflect light, it will appear as if you’re shooting in snowfall. Unnatural factors such as pollution or natural factors like coral spawning, currents, and tides can all affect water clarity.
Of course, you don’t have control over nature, but if you understand currents and tides, you may take advantage of them. For example, a falling tide withdraws the water and sand, resulting in murky water, and the incoming tide brings pure water and exquisite clarity to the scene.
If possible, try to find a spot with clear water while snorkeling, making it easier to take good pictures.
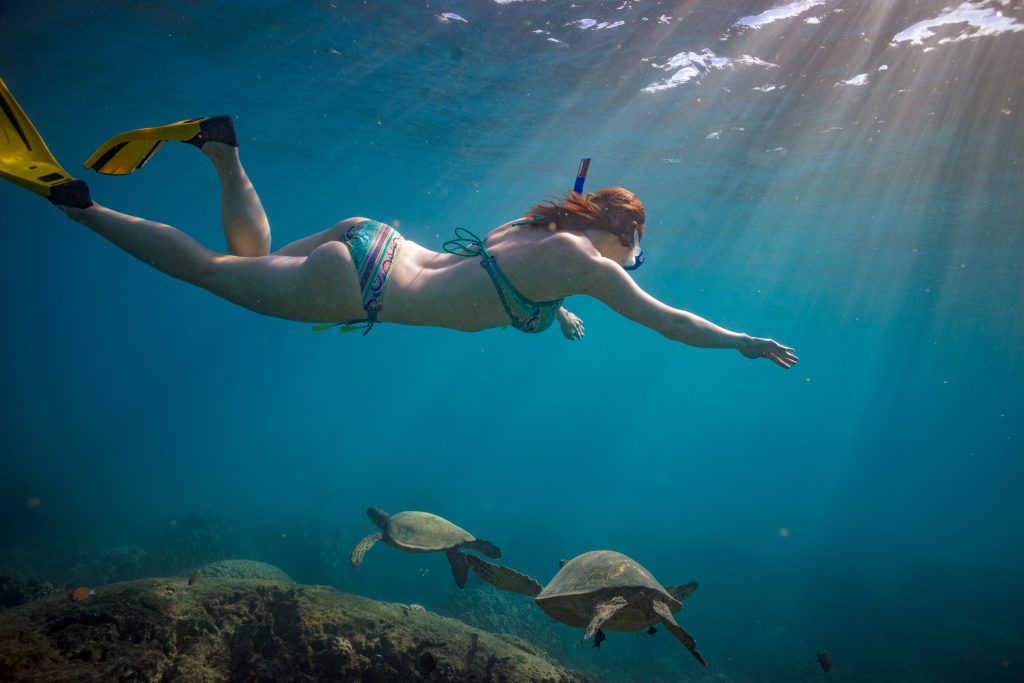
Use the ambient light well.
In most cases, you’ll have to rely on sunlight penetrating the water to take pictures while snorkeling. This is why it’s essential to understand how light behaves underwater.
First, red light is absorbed in water, so anything red will look darker than it is. This also means that blue light penetrates water the deepest, making blue subjects appear much brighter than they are.
Secondly, underwater objects will look closer than they are because water magnifies things. This is why it’s essential to use a broader aperture to prevent your pictures from becoming blurry.
Lastly, when taking pictures of moving subjects, you’ll need to use a faster shutter speed to prevent blur.
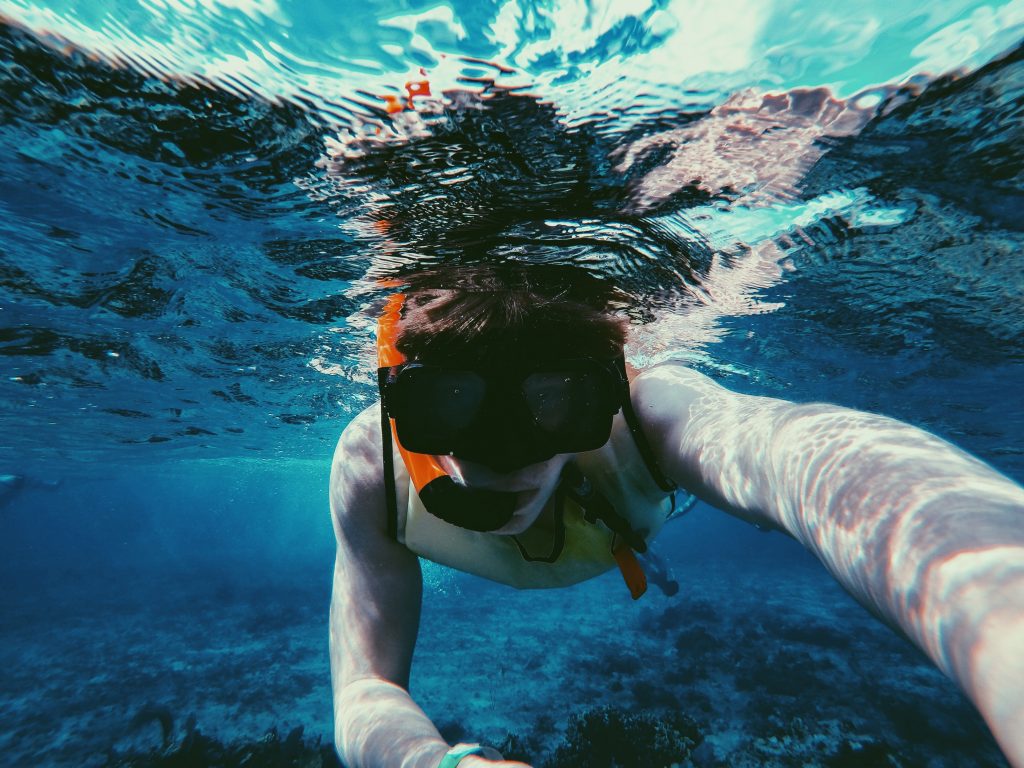
Find the best angle by diving down.
The best pictures are often taken from below, looking at your subject. This is because it’s easier to see the light reflecting off the water’s surface and into the camera. It also creates an interesting effect where the background appears closer than the foreground.
You’ll need to dive down a bit to take pictures from below. If you’re not a strong swimmer, you can hold on to a rock or something else that is anchored to the ground.
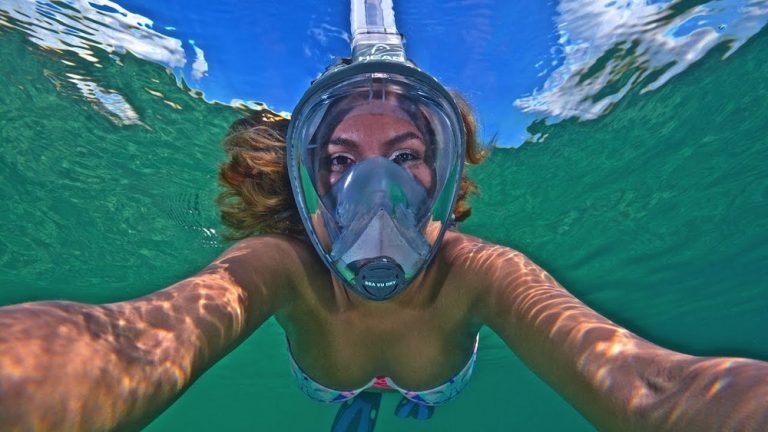
Get close to your subject.
You’ll need to get close to your subject to take good pictures while snorkeling. This is because the further away you are, the more water there is between you and your subject, making the pictures appear blurry.
Of course, you don’t want to get too close and startle your subject or damage the reefs. So, it’s essential to find a balance. If you’re unsure how close you can get, err on the side of caution and take a few practice shots from a distance first. Then, you can always move closer if the pictures turn out blurry.
Hold your camera steady.
You may know the importance of keeping your camera as steady as possible to capture sharp and clear pictures, but this is a real issue for snorkeling photography.
Divers are less prone to this difficulty since they may regulate their buoyancy with the Bates DFP, and weights can keep them more stable; however, snorkelers do not. When snorkeling, the movements in the upper levels of the ocean make keeping a camera still even more difficult.
There is only one problem with this scenario: we don’t have any snorkeling photography techniques to help! Put the camera close to your body. Learn to sense the ocean and shoot when there is less movement in the water and no significant wave is approaching. Balance using your flippers! Furthermore, an underwater camera tray helps stability.
Use post-processing software.
While the techniques mentioned above will help you take better pictures while snorkeling, they won’t do much to make your pictures stand out. This is where post-processing comes in.
Post-processing is the process of editing your photos after you’ve taken them. This can be anything from cropping and rotating to more complex edits like adjusting the colors and contrast.
There are a variety of applications available, ranging from simple to advanced. Install one on your computer (similarly accessible as a smartphone app) and begin editing your photos. Adobe Lightroom or Photoshop remains the most acceptable alternative for traditional software.
They provide a virtually infinite number of possibilities for picture manipulation. You don’t know everything there is to know about photo enhancement. Simple, fundamental changes can also make a big difference!
Essential underwater photo editing tips
Here are some simple editing techniques you may apply to your photos to make them more vibrant and colorful. These basic settings can be found in all post-production programs (just maybe under different names). Each photograph is unique.
Therefore there is no setting that can be used on all photos. Experiment with the various options until you discover one that works well. Isn’t it confirmed at the end of the day?
- Brightness: Is your picture too light or dark? You may quickly correct this by utilizing the brightness (or exposure) function.
- Contrast: In water, contrast is reduced, so you’ll need to boost it for the picture to appear lively and reveal the details. Be cautious not to use too much contrast since the photograph will become dim.
- Color balance: You can also use a hue or color balance/corrector to alter the number of colors in the picture. This is a fantastic tool for editing snorkeling pictures because it allows you to add more red or decrease green if you shoot in green water.
- Color temperature: The hue of an image can be changed by simply adjusting the tones. The color settings in Photoshop, for example, may be changed to make images appear much more vivid (increasing red and yellow) or somewhat more drab (adding blue). Changing the colors warmer (additional yellow and red) or colder (additional blue) will alter the whole
- Saturation: Saturation is a measure of how vivid the colors in a picture are. If you feel the photo has faded, increase the saturation to make the colors more vibrant. Don’t add too much because it’s easy for an image to become oversaturated and unnatural.
- Sharpness: When you increase the sharpness, it makes the picture clearer. Gradually raise it until the photo is clear, but not too much because it also emphasizes flaws and produces a noisy image.
Study marine biology
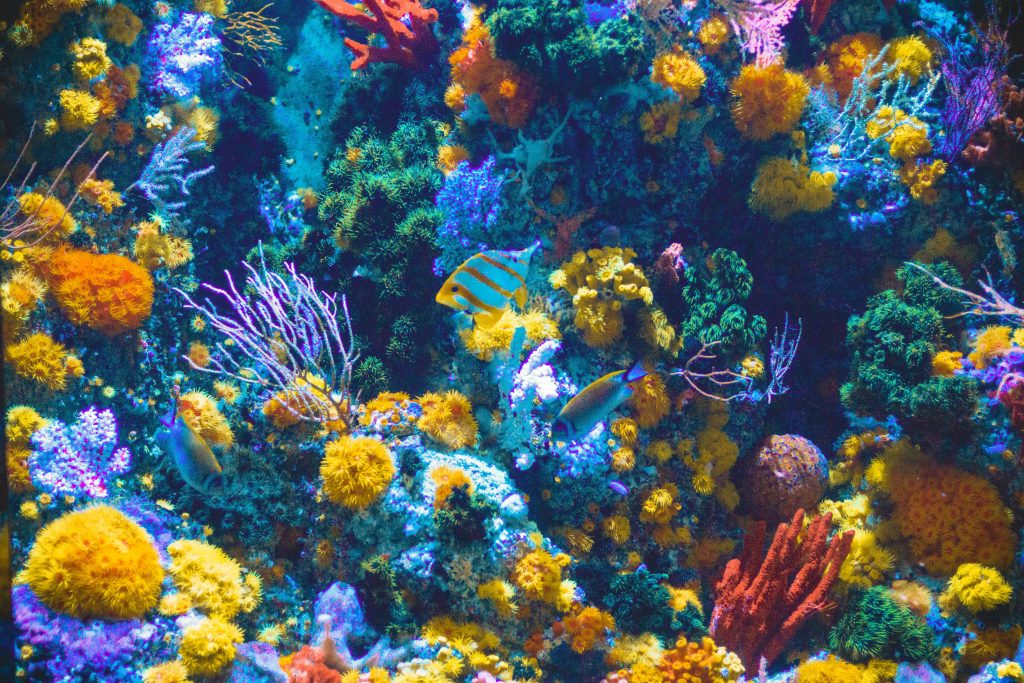
One of the best ways to take good pictures while snorkeling is to understand what you’re taking pictures of. Learning about the underwater environment and the living creatures there will give you a better appreciation for what you’re seeing and help you take better pictures.
A few options are available if you want to learn more about marine biology. You can take classes at a local college or university, or you can do some research on your own time.
There are also plenty of books and websites that can teach you about the underwater world.
Once you have a better understanding of marine biology, you’ll be able to take more aesthetically pleasing pictures with scientific value. You’ll be able to document the different fish species and other creatures you see, and you may even contribute to important research projects.
Practice and learn from professionals
Suppose you want to take good pictures while snorkeling; practicing and learning from professionals is essential. There are a few different ways that you can do this.
One way is to find a local snorkeling or diving club and see if they offer any classes or workshops. Many clubs have experienced members who would be happy to share their knowledge with you.
Another way to learn from professionals is to find a good book or online tutorial on underwater photography. These resources can teach you the basics of taking good pictures, and they can also give you some tips on how to edit your photos to make them look even better.
Finally, you can also learn from your own mistakes. Trial and error is often the best way to learn, so don’t be afraid to experiment with your camera. Take lots of pictures, and see what works and what doesn’t. With time and practice, you’ll eventually get the hang of it.
Conclusion:
Taking good pictures while snorkeling can be challenging, but it’s possible with practice and knowledge. If you take the time to learn about marine biology and the underwater environment, you’ll be able to take better pictures. And if you keep practicing, you’ll eventually get the hang of it. So don’t be discouraged if your first few pictures aren’t perfect—keep at it, and you’ll eventually get some great shots.